FMOD and Unity integration
Overview
This tutorial demonstrates how to download and install FMOD Studio and the FMOD for Unity package. I’ll walk through how to create vertical layers that are controlled by a parameter named “Intensity”.
Download FMOD Studio and FMOD for Unity
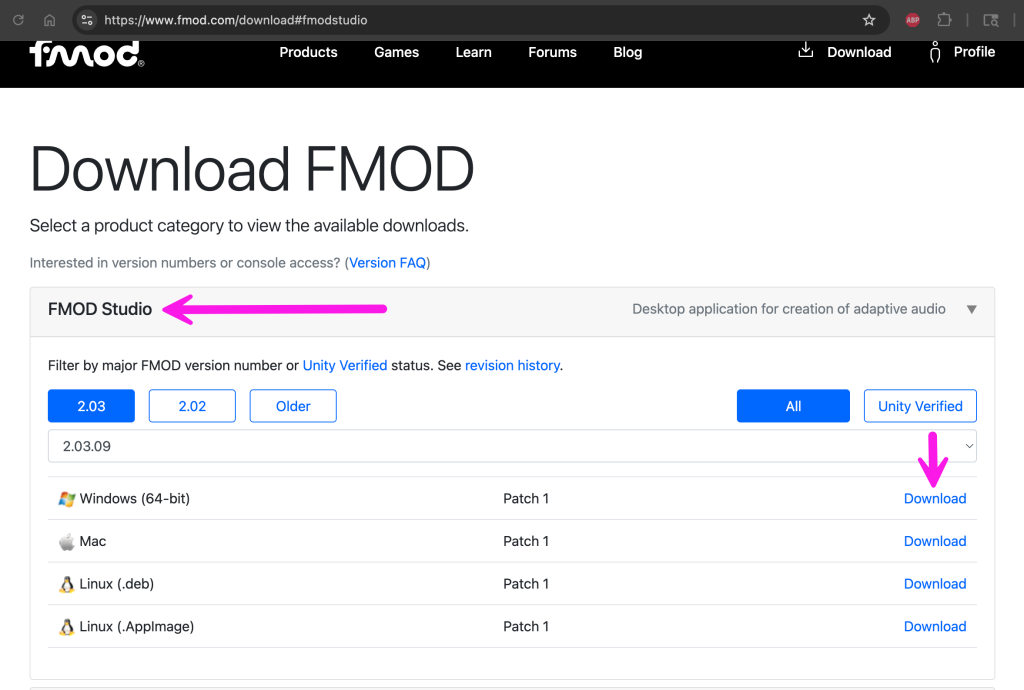
Download FMOD Studio from https://www.fmod.com/download.
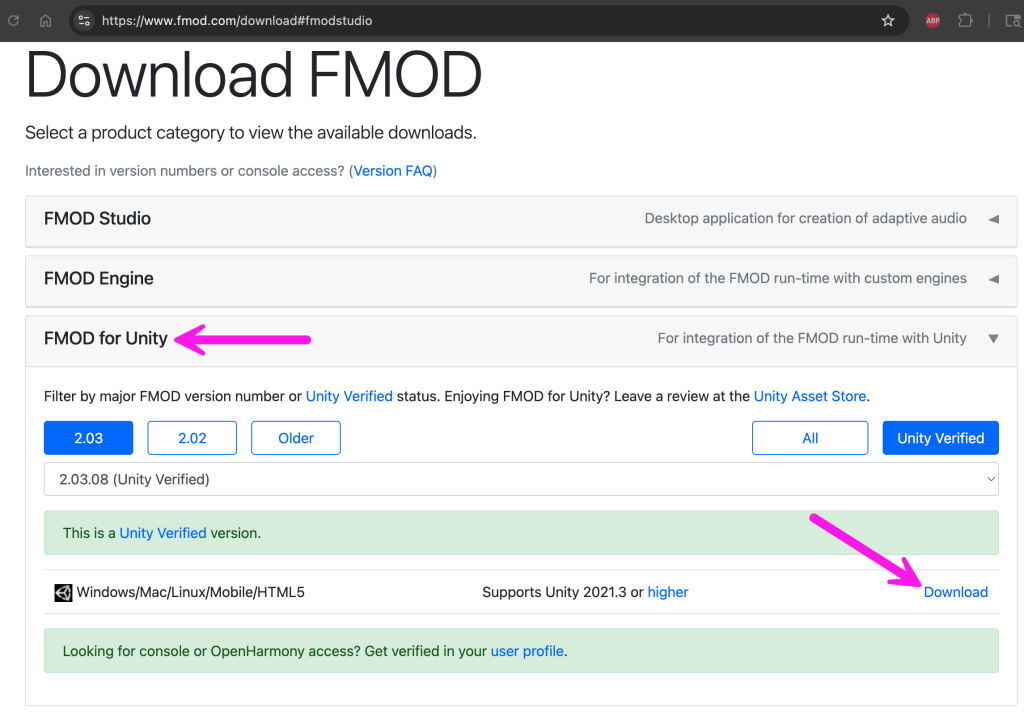
Also download the FMOD for Unity package. Later you’ll import this package to a Unity project.
Install FMOD Studio
Run the FMOD Studio installer like any other typical installer for your OS. This creates a standalone application where you’ll create FMOD Studio projects.
Create an FMOD Studio project
Open FMOD Studio, and save a project, even if it’s empty right now. We’ll need this .fspro project file to tie it into Unity.
Setup FMOD for Unity in your Unity project
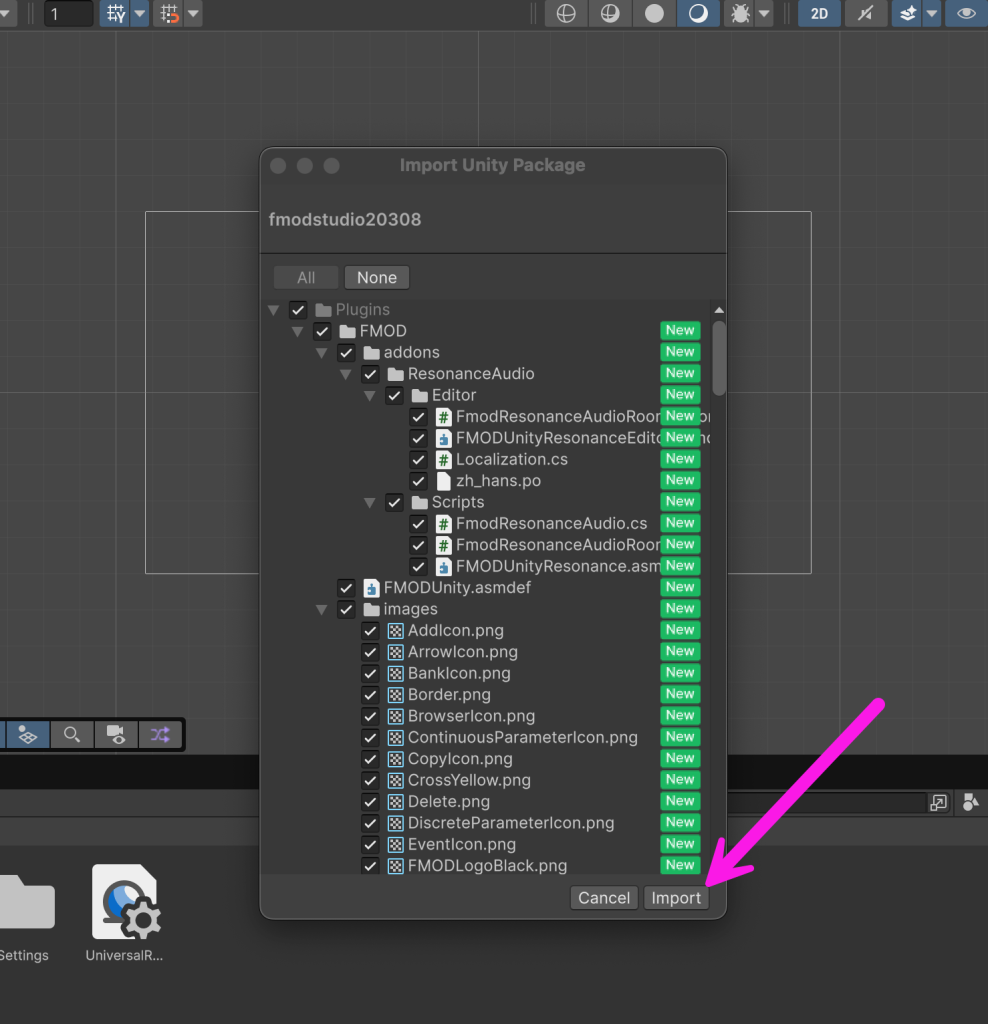
Open a Unity project (latest version during writing is Unity 6). Find the downloaded Unity package in your OS file browser.

Double click the .unitypackage file and it will open the import package dialog in Unity.
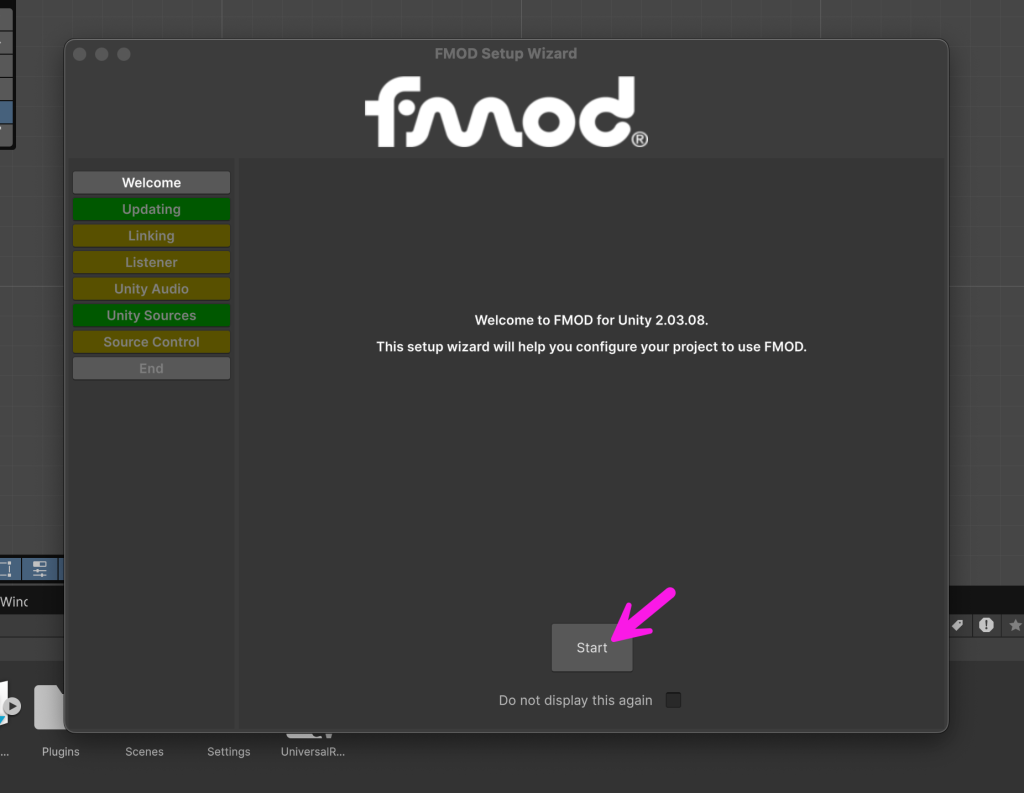
After import a setup wizard for FMOD will appear. Click start.
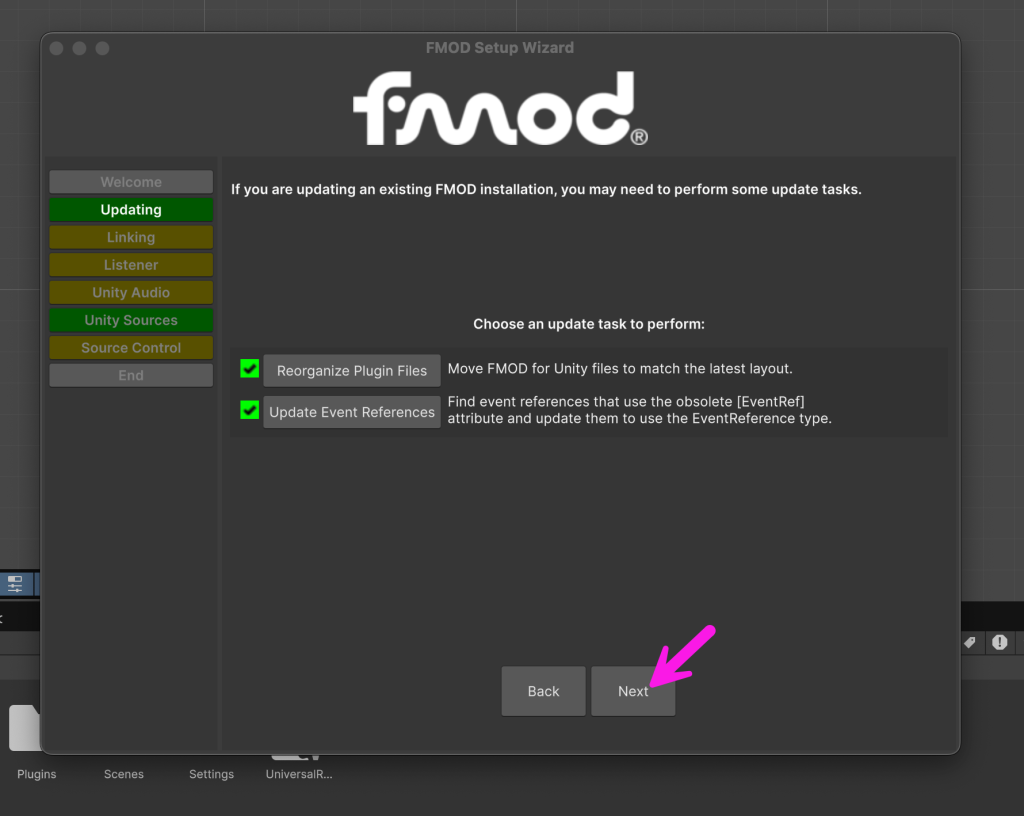
The next step will ask to reorganize files. I accept the defaults.
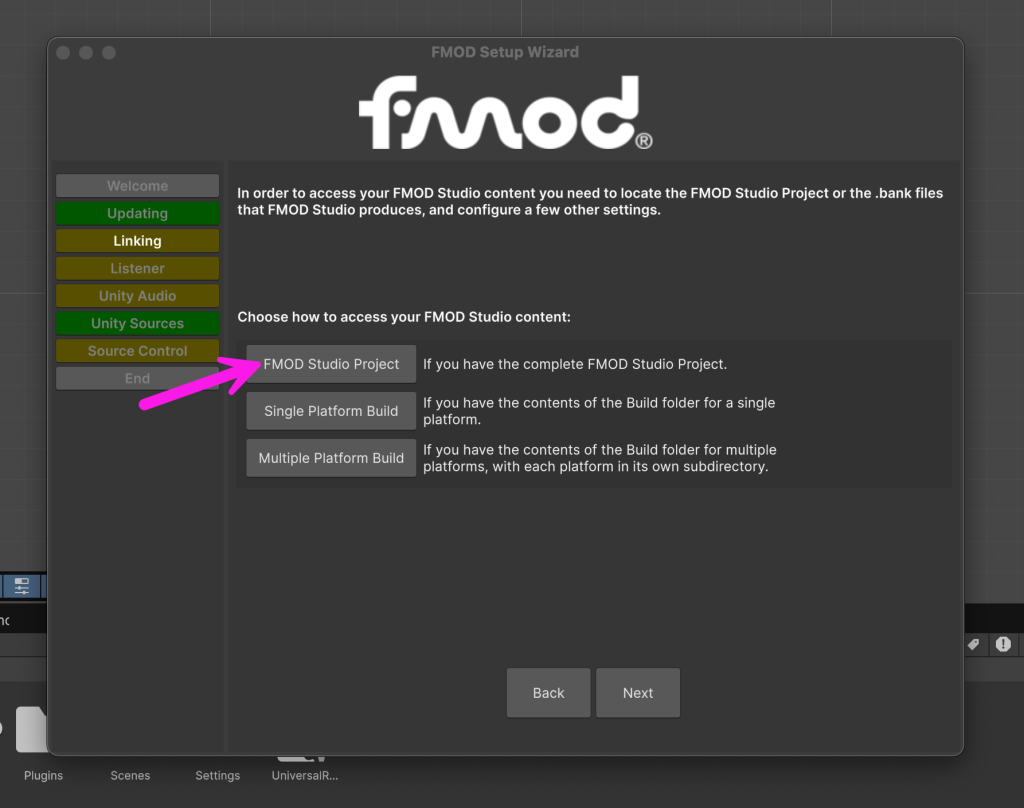
The next step asks how you are providing the FMOD Studio content. I choose FMOD Studio Project, and then find and choose to my .fspro project file.
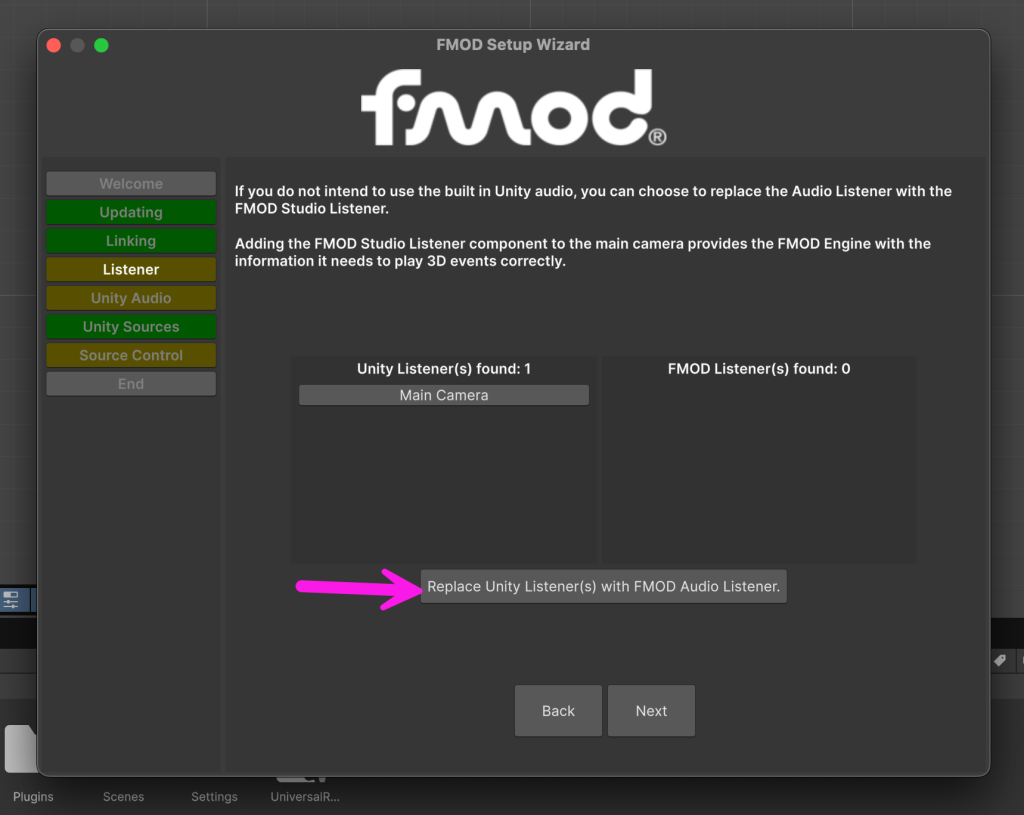
The next step shows a list of Unity Audio Listeners found and offers to replace them with FMOD Audio Listeners. Click “Replace Unity Listener(s) with FMOD Audio Listener.” and continue.
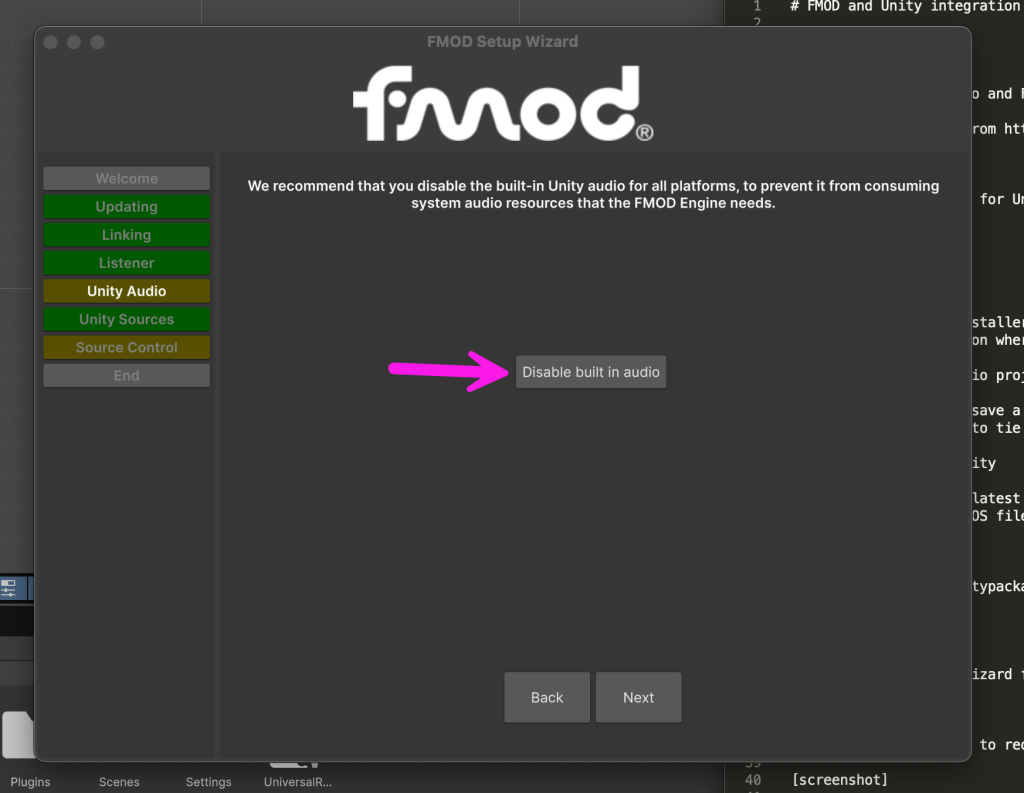
The next step asks to disable Unity’s built-in audio. Click disable built in audio and continue.
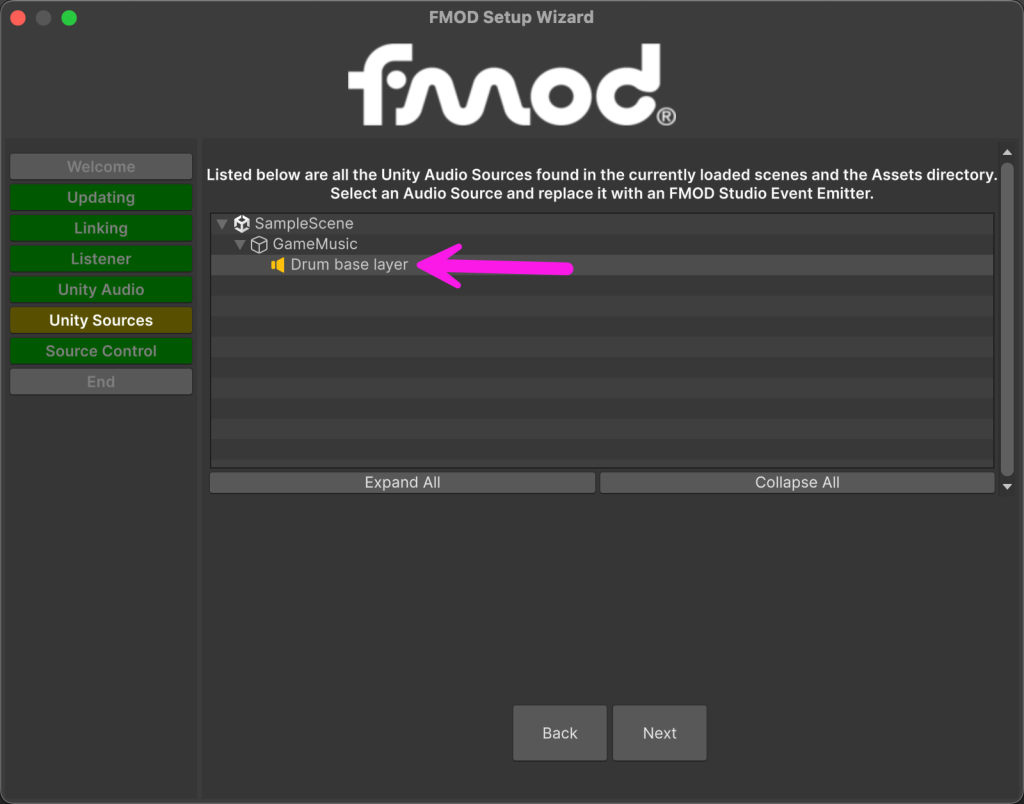
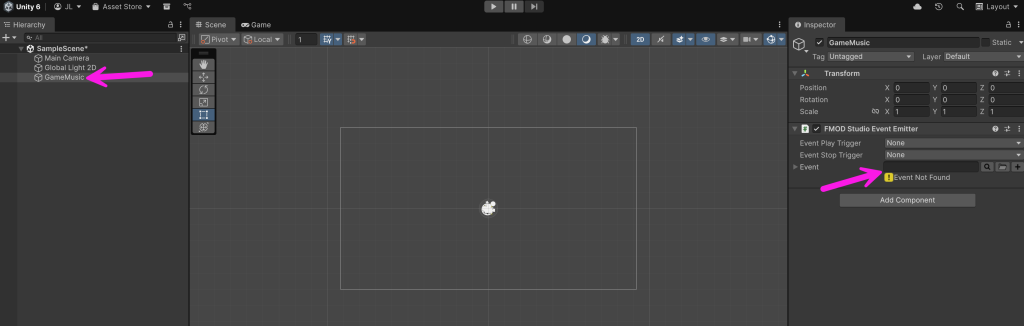
The next step identifies any Unity Audio Sources you may currently have in your project. If you have any, select them, which will select the item in your scene, and then manually add an FMOD Studio Event Emitter component, and remove the original Audio Source. Note that if you only have an empty FMOD Studio project currently and have not made any Event, the FMOD Studio Event Emitter component will have a warning saying “Event Not Found.” That’s OK for now.
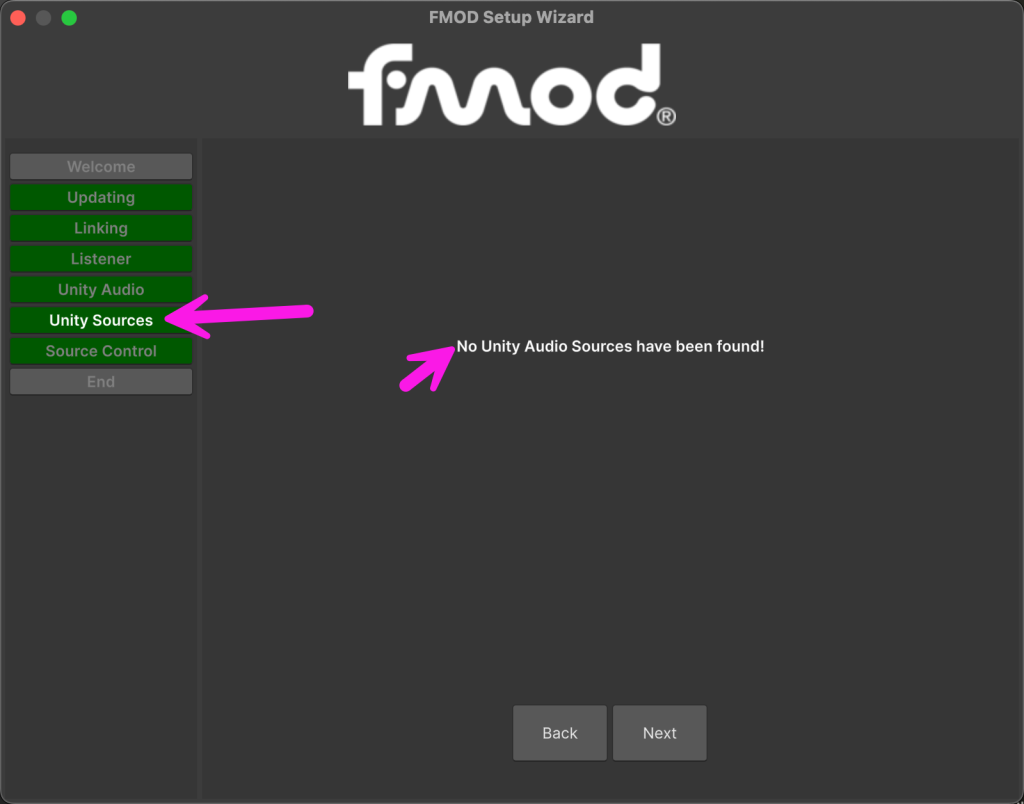
When you have removed all of them you’ll see a note saying “No Unity Audio Sources have been found!” and the “Unity Sources” section of the wizard in the left will turn green.
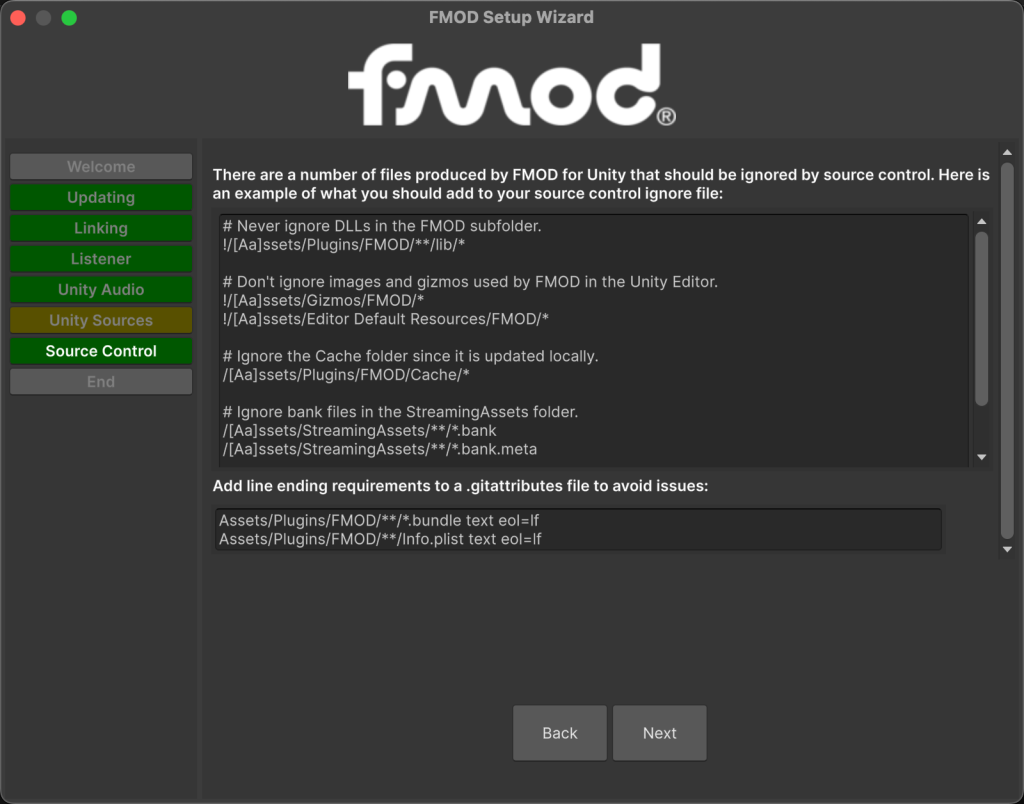
The next step provides a list of files you should ignore in version control. If you use git or other version control, setup those ignores.
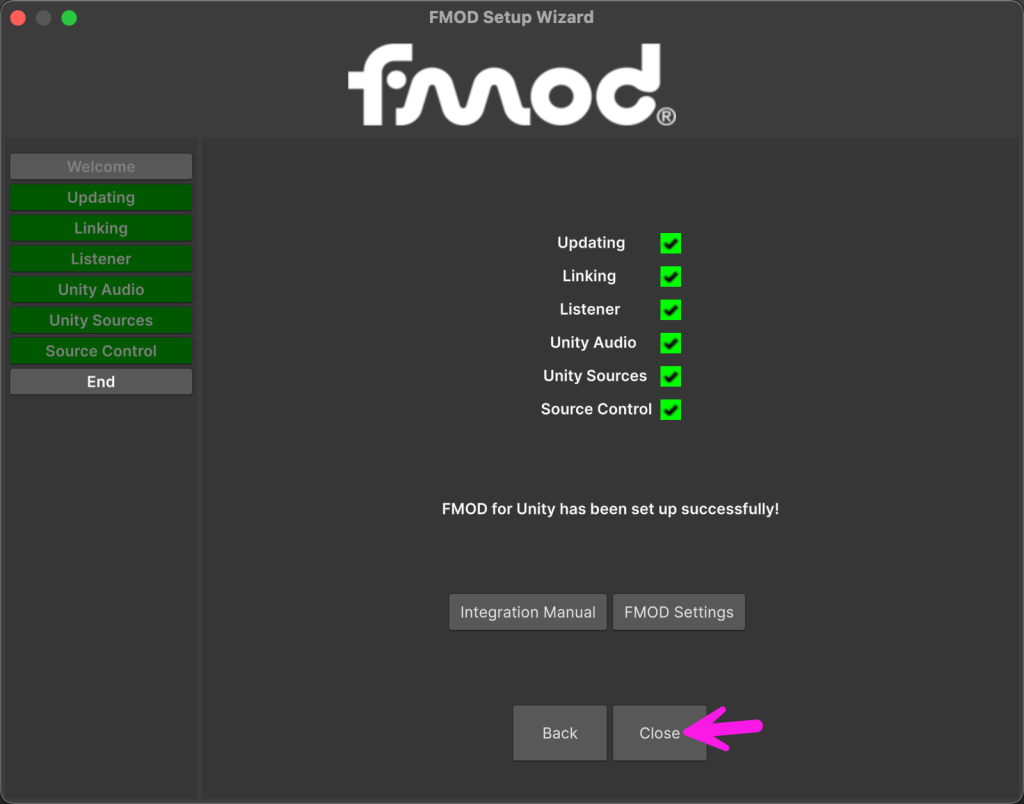
On the final page, everything should be green and you can close.
When complete, you will see a new FMOD menu item in Unity.

Create an vertical layer Event in FMOD Studio Project
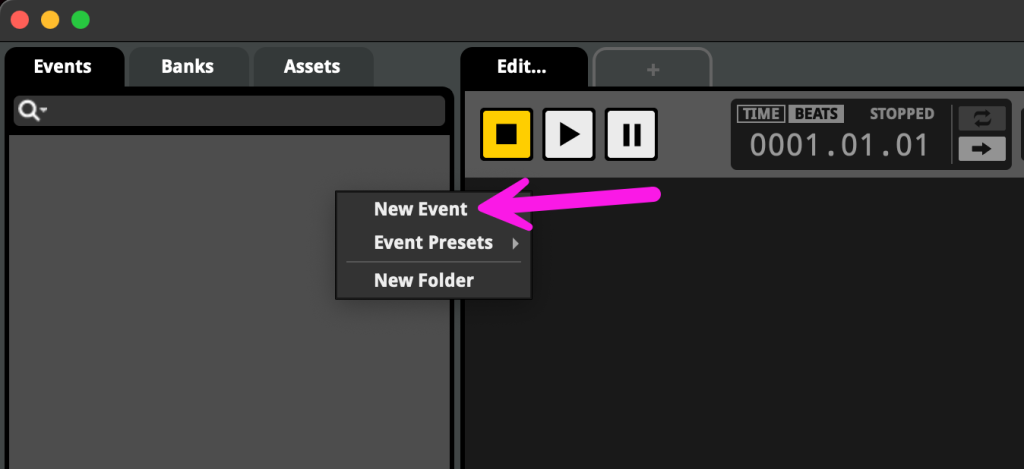
Now that the Unity project is linked up with the FMOD Studio Project, we can now start adding Events in FMOD Studio and using them in Unity.
First, create an Event.
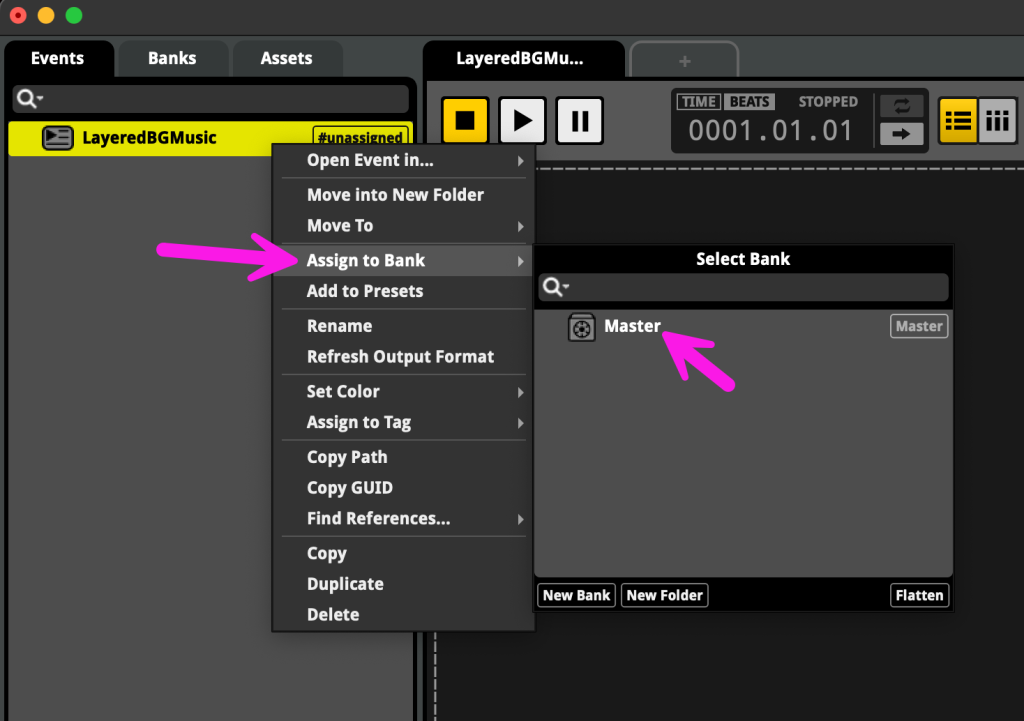
Then, assign that Event to main bank.
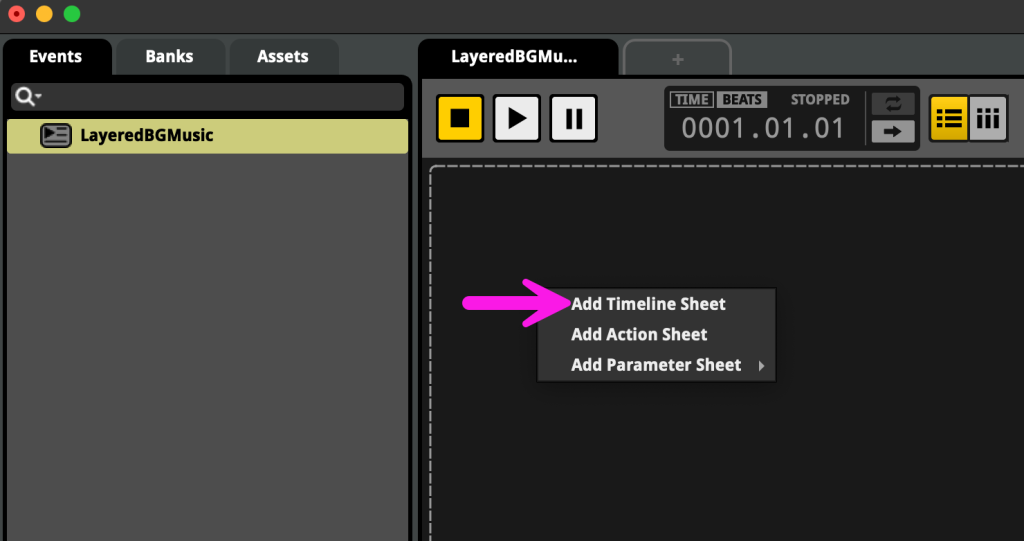
Then, add a timeline sheet.
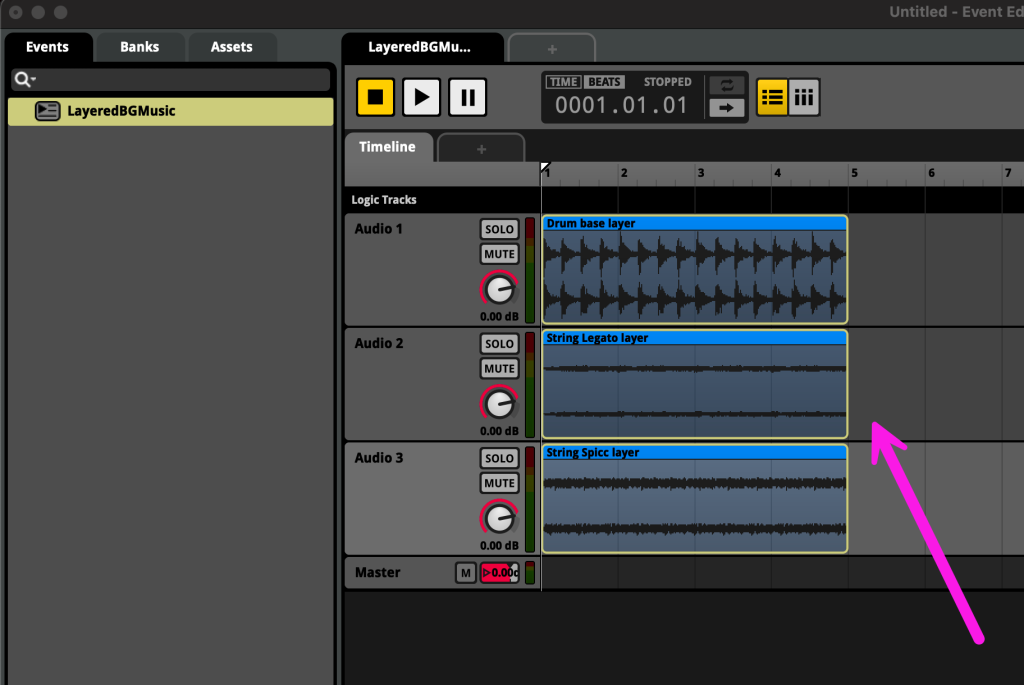
Drag in your samples to make audio tracks.
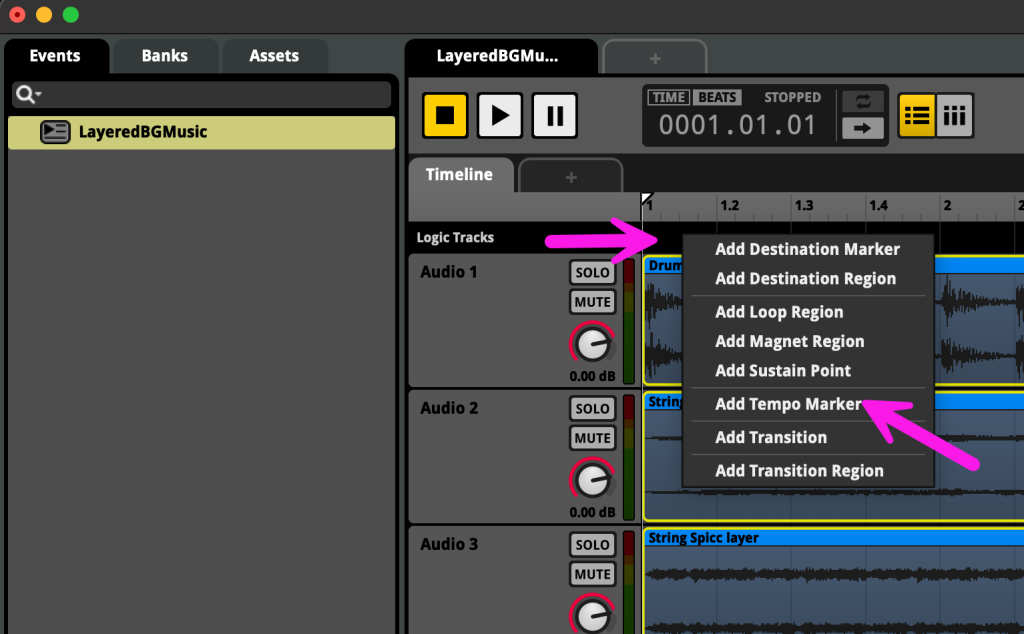
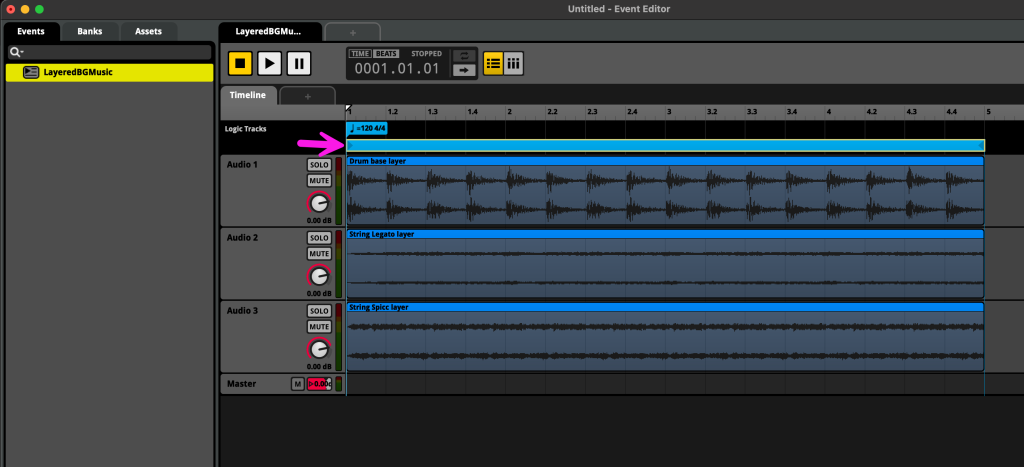
Add a tempo marker by right clicking in the Logic Tracks section and selecting Add Tempo Marker. Set the tempo and drag it to the beginning.
Add a loop region by right clicking in the Logic Tracks section and selecting Add Loop Region. If it overlaps on the same row as the tempo marker, drag it down a little to create a new row in the Logic Tracks. Expand the loop region to the correct places.
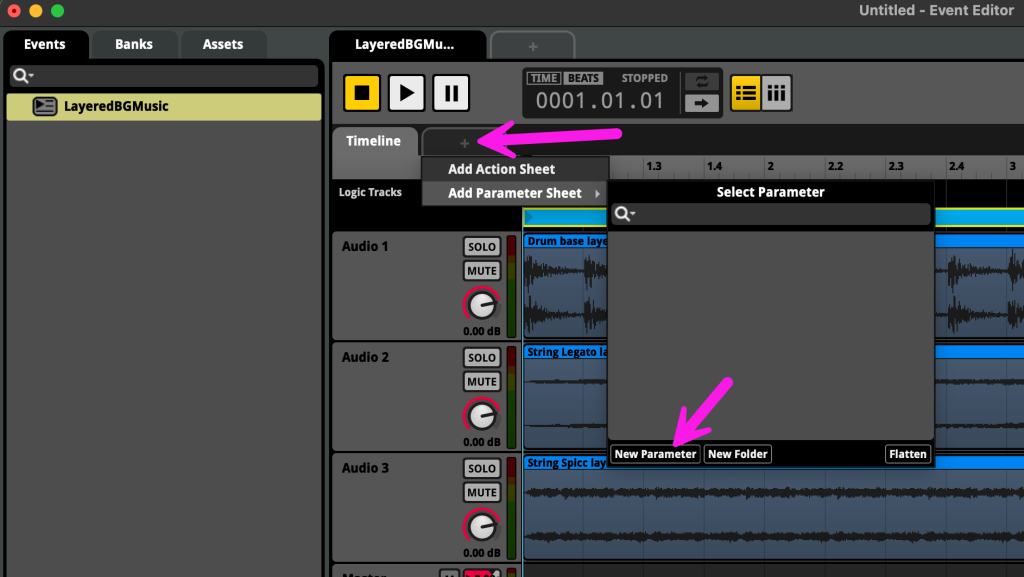
Add a Parameter Sheet, by clicking the + next to Timeline and choosing Add Parameter Sheet, New Parameter.
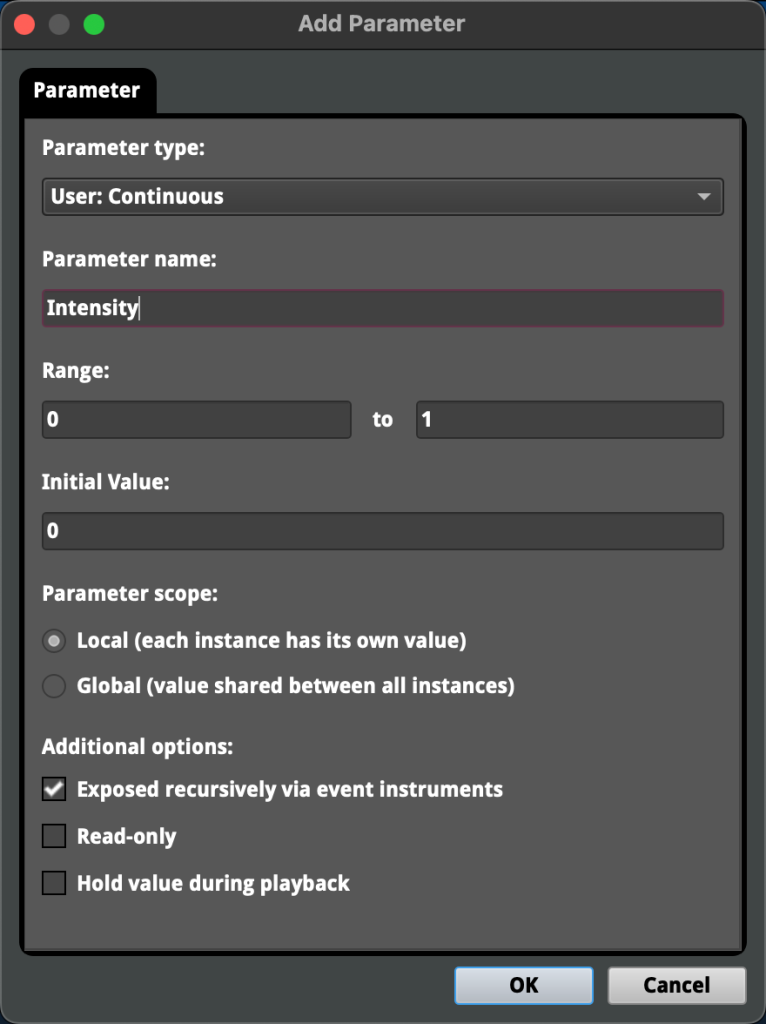
I’ll name the new parameter “Intensity” and leave the other defaults type: “User:
Continuous” (a float), and range 0-1.
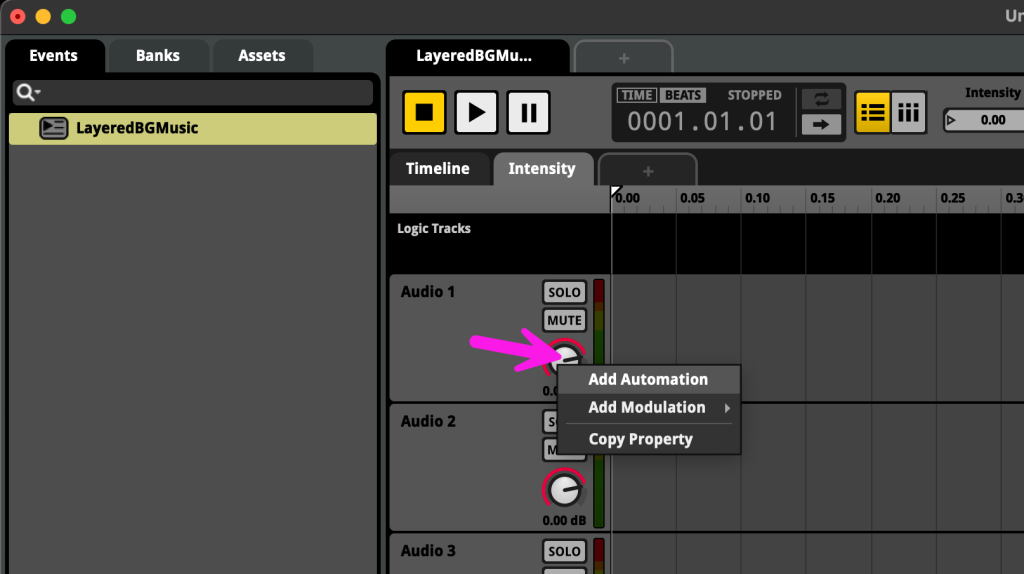
Then, I will right click on volume knob for a track and choose Add Automation. I’ll do this for all of the tracks.
Next, I’ll adjust the automation curves so as the intensity increases, more layers are brought in.
Then, I will save and build the project. File -> Save, and File -> Build. Now we are ready to go back to Unity and connect this Event.
Connect FMOD Studio Event to Unity game object’s FMOD Studio Event Emitter component
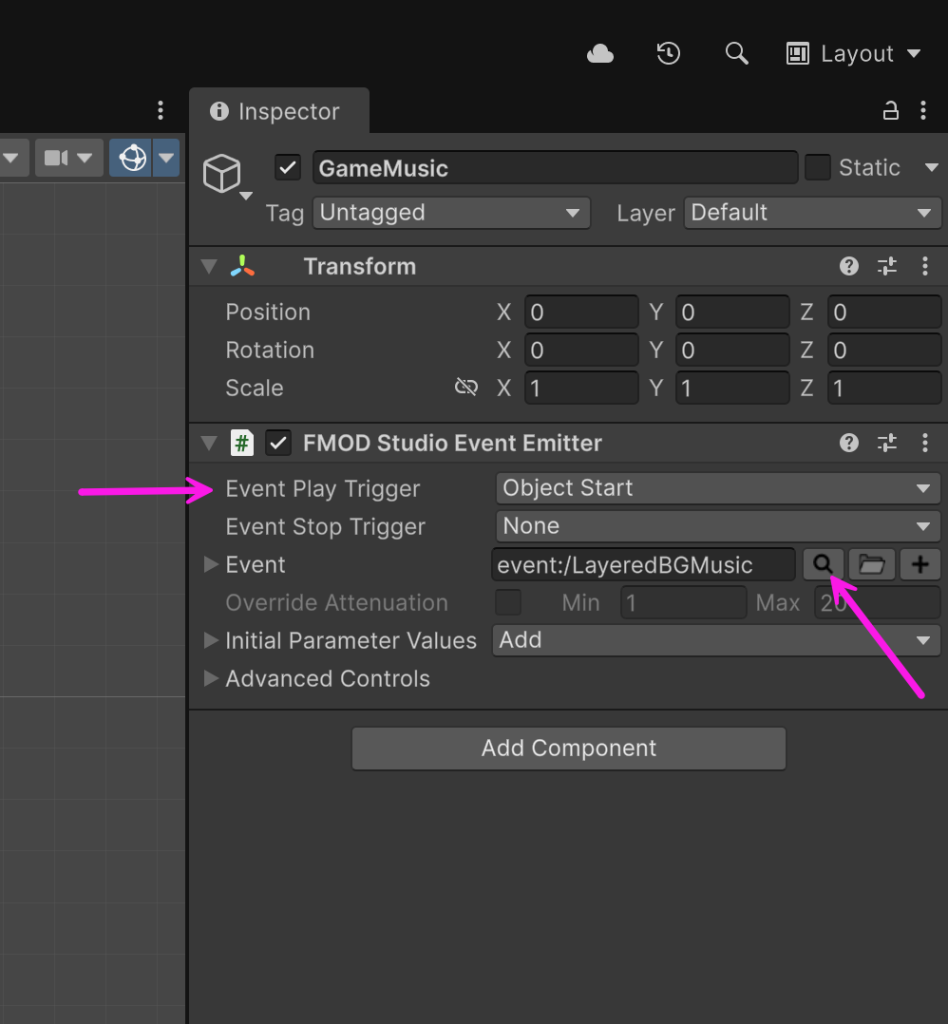
Go back into Unity, and find the FMOD Studio Event Emitter component, choose the Event we created, and set Event Play Trigger: Object Start, since it’s background music. I have this component attached to an empty GameObject in my scene called GameMusic.
Now, when the game runs, the music will play, but we’ll only hear the base layer, until the Intensity parameter is changed.
Control the Intensity parameter we created in Unity
Now that we have our Event in FMOD Studio and our FMOD Studio Event Emitter setup in Unity, the last step is to control the Intensity parameter so the different layers come in and out.
You could use an FMOD Studio Parameter Trigger, which can trigger on things like collisions. I want to show you how to manually adjust the Intensity parameter using C# code so you can have full control over it and update it anywhere you want in your project. I will demonstrate by creating a UI Slider to control the Intensity parameter.
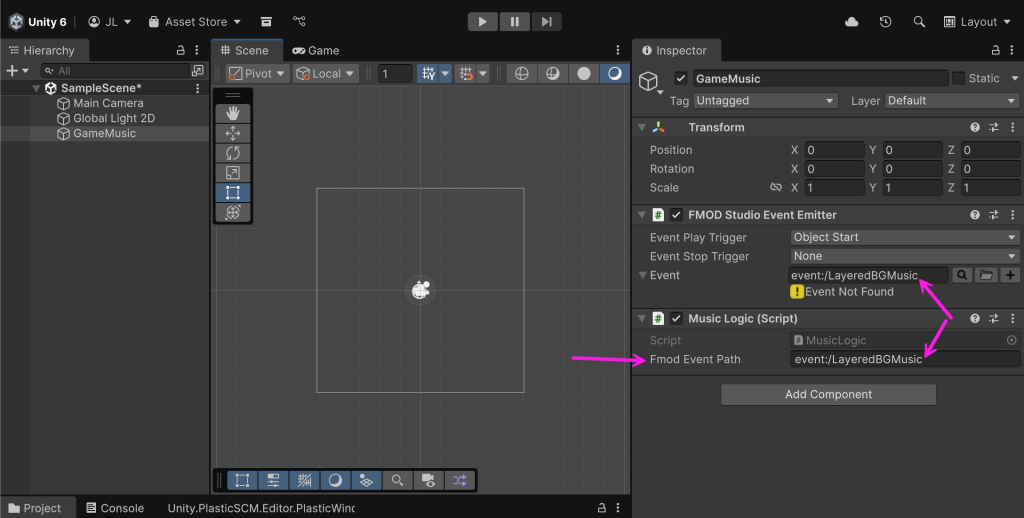
First, let’s create a script with a function to update the Intensity parameter. I’ll add the script component to the GameMusic object, but it doesn’t matter exactly where. My script will be named “MusicLogic”.
In the script, we need to do a few things:
- Import FMOD namespaces (FMODUnity, and FMOD.Studio)
- Add a variable to store the FMOD Studio Event name/path
- Load the Event instance object using the name/path
- Then we can update the parameter using the Event instance
Here is what the full script looks like:
using UnityEngine;

using FMODUnity;
using FMOD.Studio;

public class MusicLogic : MonoBehaviour
{

    // Assign this in the Inspector (e.g., "event:/MyEvent")
    // To figure out event path, check which event is specified in the object
    // with FMOD Studio Event Emitter component
    public string fmodEventPath;
    private EventInstance myEventInstance;

    // Start is called once before the first execution of Update after the MonoBehaviour is created
     void Start()
    {
        // Instantiate the fmod game object to later manipulate the parameters.
        myEventInstance = RuntimeManager.CreateInstance(fmodEventPath);
        myEventInstance.start();
    }

    public void UpdateIntensity(float newIntensity)
    {
        Debug.Log("New intesity: " + newIntensity);
        myEventInstance.setParameterByName("Intensity", newIntensity);
    }
}
Then populate the fmodEventPath variable in the inspector.
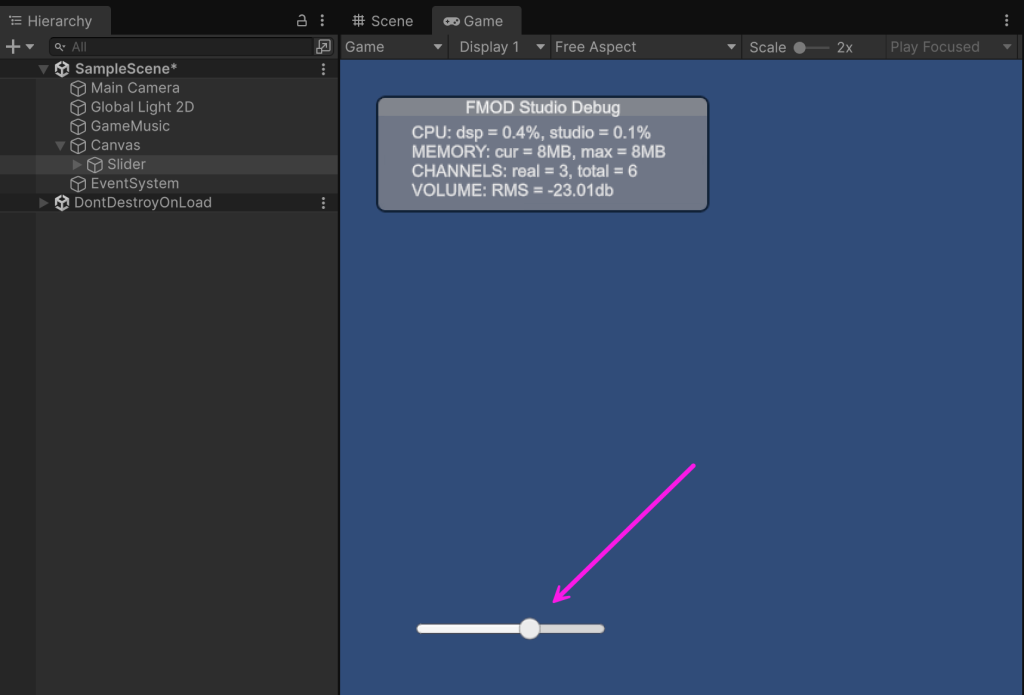
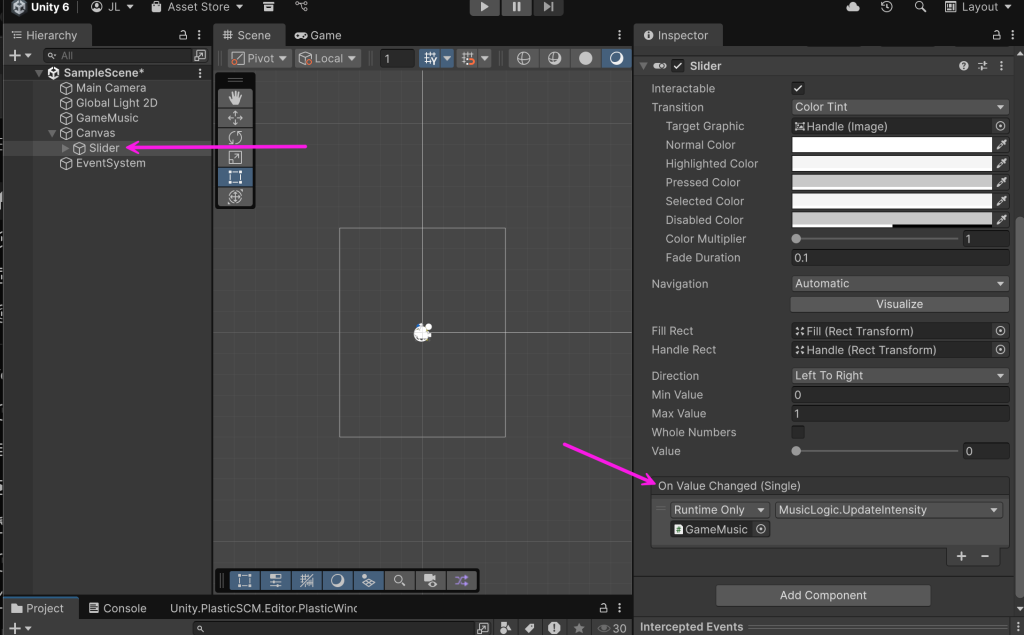
Now, let’s add the slider. Add to the scene a UI -> Slider. In the inspector, for “On Value Changed” add a callback so it invokes our “UpdateIntensity” method on our script.
Final test
Run the game and move the slider and the layers should come in and out.